Block Blast Strategy Cheat Sheet: A Practical Playbook to Raise Your High Score
Most Block Blast advice online repeats the same two lines: "keep combos" and "plan ahead."
That is directionally true, but not enough to improve your score consistently.
This guide is designed for players who are stuck in the same cycle:
- one great run every few days
- many early collapses
- no clear reason why one run works and the next one fails
Instead of generic tips, this article gives you a repeatable system:
- a pre-move decision routine
- a board risk model
- a recovery protocol when the board is close to dead
- a run-audit method you can use after every game
If you apply this process for one week, you should see higher consistency, not just occasional lucky spikes.

Why this topic now (research signal)
From your recent search behavior and query trend signals, one phrase is clearly emerging:
"block blast strategy cheat sheet."
Related intent clusters show up around:
- combo strategy
- high score tips
- scoring system and multiplier behavior
- "what to do when the board is almost full"
That means searchers are not only looking for "tips." They want a structured reference they can use mid-game.
So the format of this article is intentional: concise blocks, checklists, and diagnostics.
1) The 15-second pre-move routine (use every turn)
Before placing any block, run this sequence in order:
- Identify the hardest piece in your current tray.
- Count legal placements for that piece.
- Confirm whether this turn can clear at least one line.
- Check if your move creates isolated holes.
- Choose the move that keeps the highest next-turn flexibility.
Why this works:
- Most losing runs begin when easy pieces are placed first.
- That leaves hard shapes with only one legal slot.
- One turn later, you are forced into a low-value placement or immediate collapse.
Fast rule
If the hardest piece has only 1 legal placement, play for survival first, score second.
2) Pattern library: safe boards vs fragile boards
A high-score run is less about one brilliant combo and more about staying in stable board states for a long time.
Safe board states
- center has 3+ legal placement lanes
- edges are active but not sealed
- no more than 1 isolated cavity
- at least one almost-complete line on both axes
Fragile board states
- center choke (all action pushed to outer edge)
- isolated single-cell holes in mid-board
- one-axis dependency (you can only clear rows or only columns)
- no room for bulky shapes
Use the visual library below as a reference while playing:
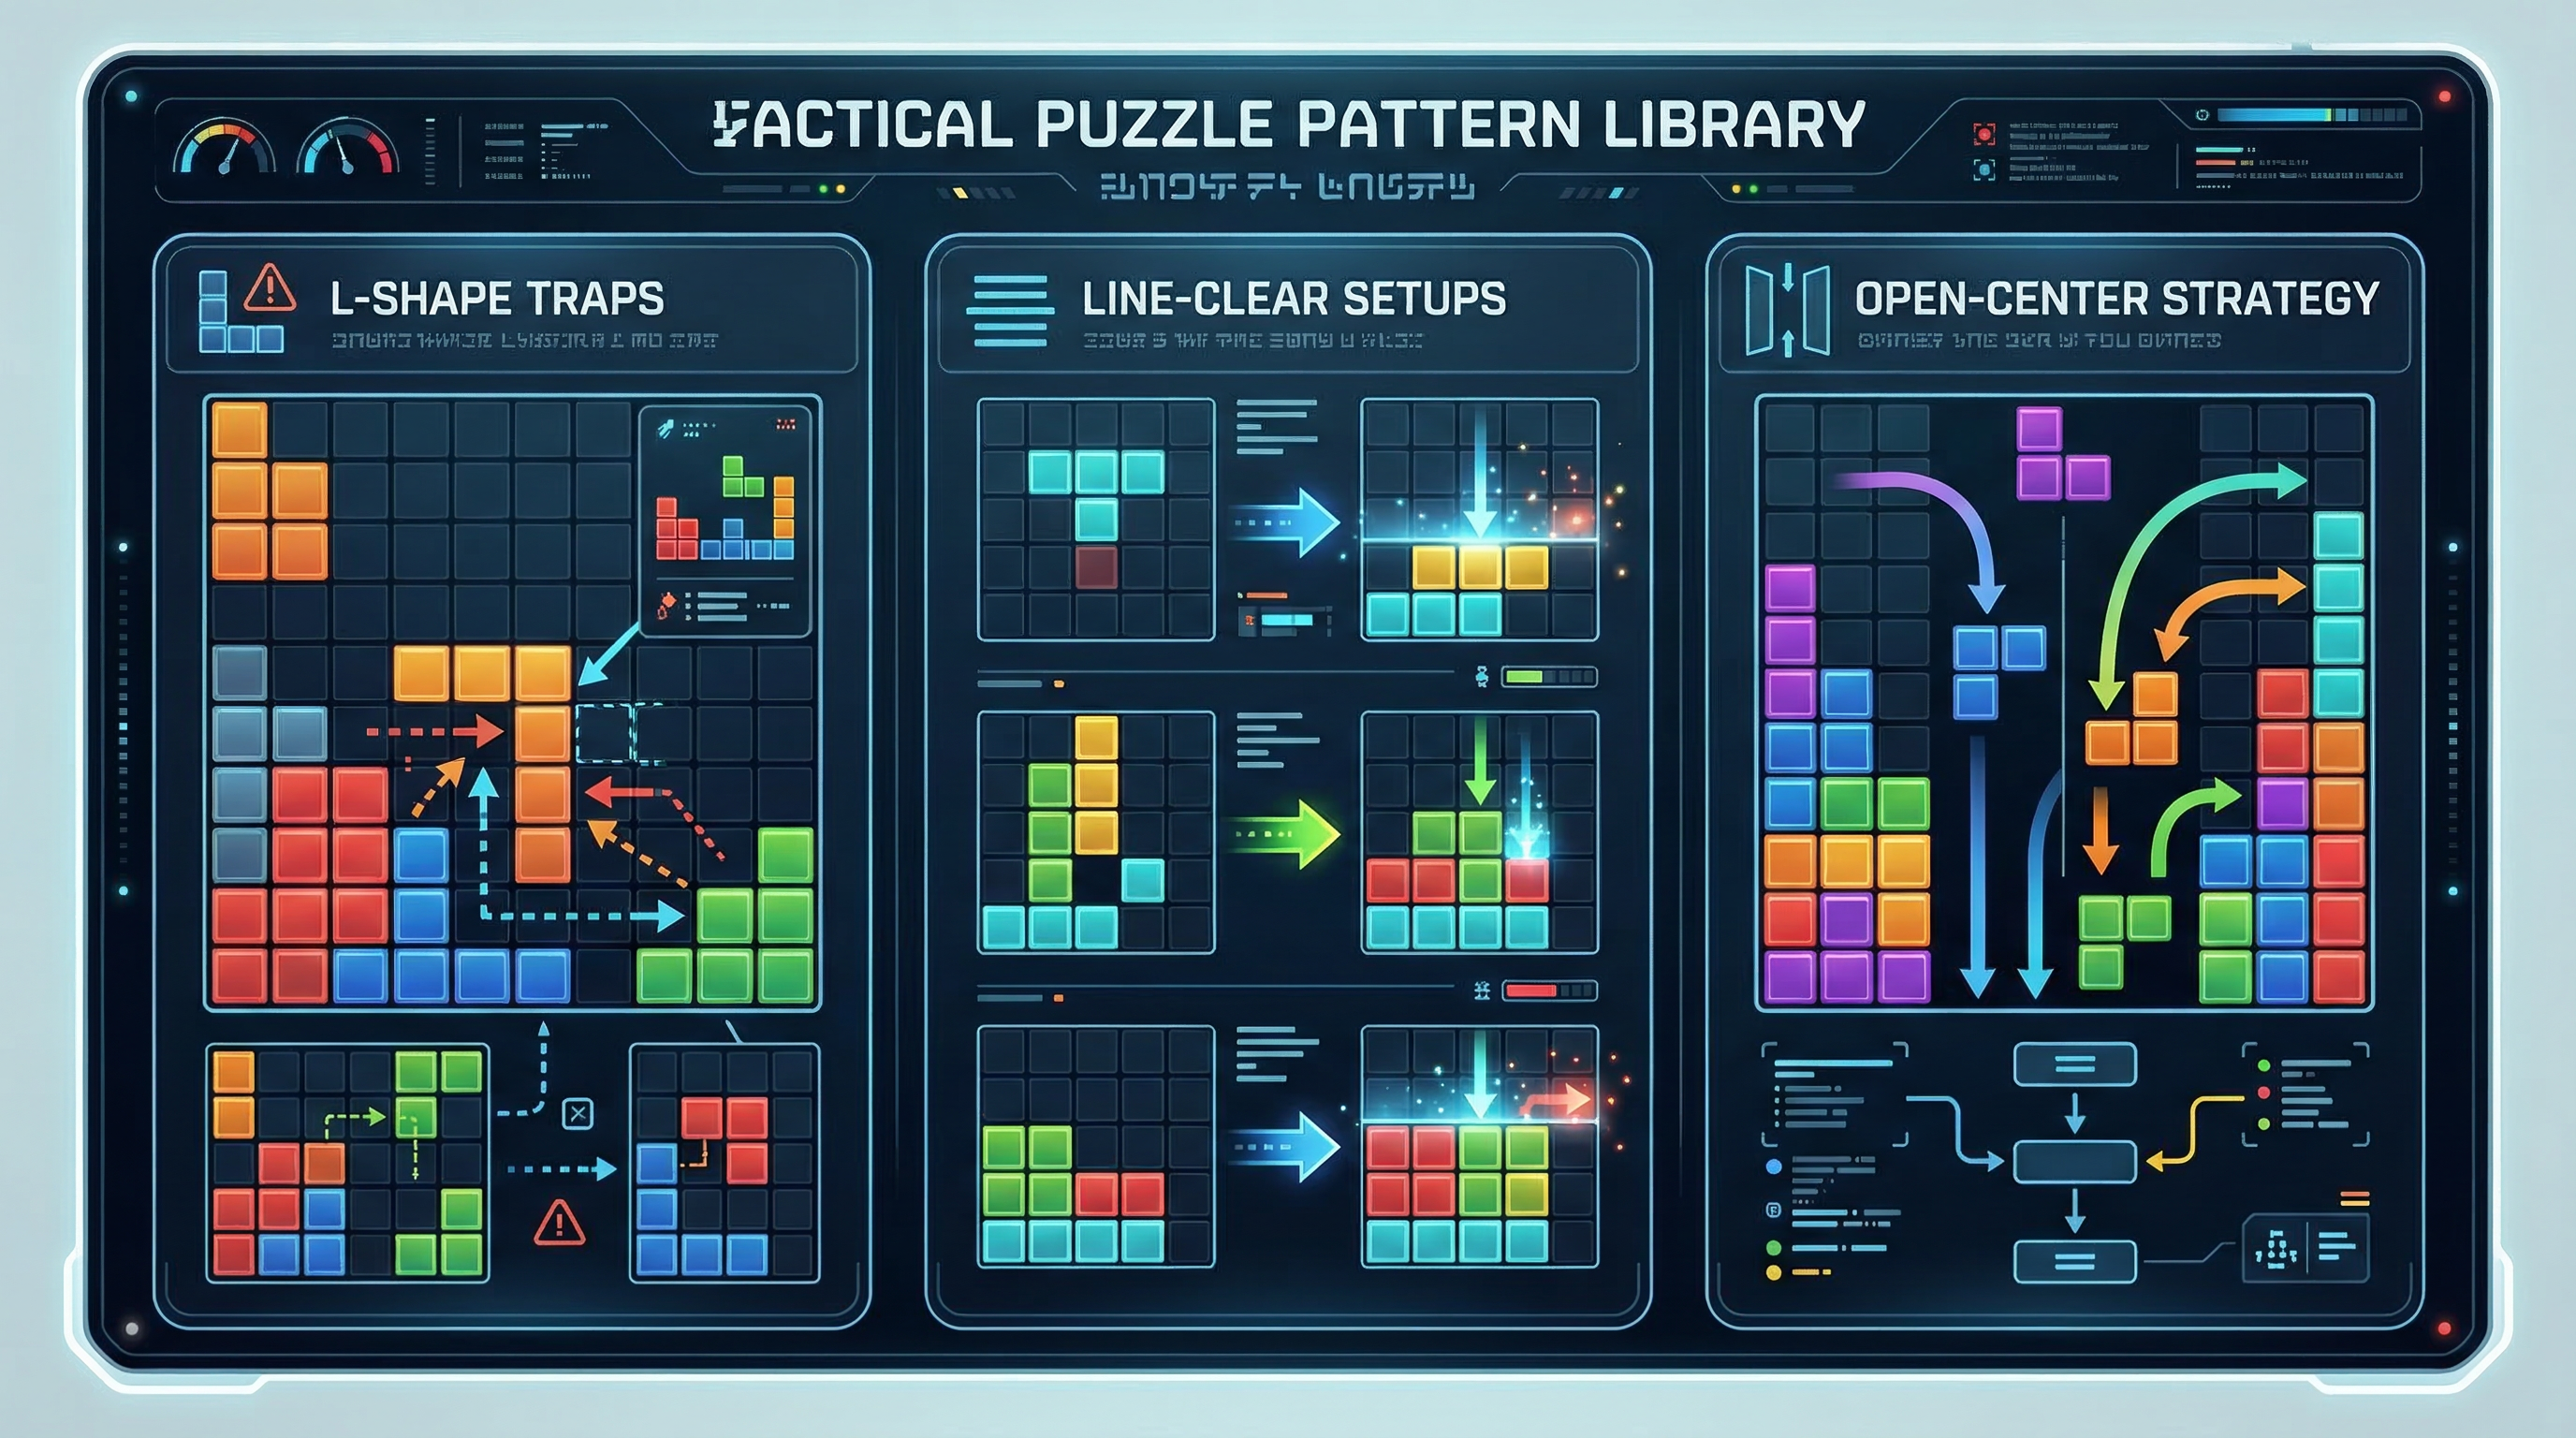
Practical takeaway
Do not judge a board by "how clean" it looks.
Judge it by how many future options it preserves.
3) Risk score: simple model for board health
Instead of guessing whether your board is "fine," score it each turn.
| Signal | Score |
|---|---|
| no clear 3x3 area available | +2 |
| center blocked by rigid clusters | +2 |
| more than 2 isolated holes | +2 |
| hardest piece has only one legal placement | +3 |
| you can guarantee one clear this turn | -2 |
| you can set up a second clear next turn | -1 |
Interpretation:
- 0-2: stable
- 3-5: caution
- 6+: enter recovery mode immediately
This model is intentionally simple.
If you track this for 20 runs, you will quickly see your collapse threshold pattern.
4) Combo strategy without tunnel vision
Combos matter, but forced combo chasing kills many runs.
The right approach:
- maintain combo windows when board risk is low
- relax combo pressure when risk exceeds threshold
- recover space first, then rebuild combo chain
Common mistake
Players force a "perfect combo continuation" while the board is already unstable.
Result:
- one flashy turn
- no legal follow-up
- run ends immediately
Better approach
Treat combo as a multiplier layer on top of board stability, not a replacement for it.
If you can choose between:
- higher immediate points with fragile follow-up
- slightly lower points with strong follow-up
pick the second in most mid-run situations.
5) Recovery protocol for near-death boards
When risk score is 6 or above, switch to protocol mode:
- Place hardest piece first.
- Prioritize reopening center access.
- Remove isolated cavities if possible.
- Preserve at least one escape lane for bulky shapes.
- Accept temporary score drop until board stability returns.

Recovery mindset
Your goal is not "maximize this turn."
Your goal is "survive next 3 turns with optionality."
If protocol succeeds, you can return to combo mode after risk score drops to 4-5.
6) Endgame checklist (before every late-game placement)
Near the end of long runs, decisions become expensive.
Use this micro-checklist every turn:
- Do I keep at least one escape lane after this move?
- Can the hardest future shape still be placed?
- Does this move create an isolated hole?
- If this combo fails next turn, am I still alive?
- Am I forcing score at the cost of flexibility?
If you answer "no" on two or more lines, reconsider the move.
7) Run audit template (the part most players skip)
After each run, spend 60 seconds writing:
- Final score
- Collapse turn (or approximate stage)
- Risk score in last 3 turns
- Trigger cause (center choke / isolated holes / hard-piece trap / over-forced combo)
- One correction for next run
Example:
| Run | Score | Collapse cause | Correction |
|---|---|---|---|
| #12 | 48,300 | hard-piece trap | hardest piece first for 5 turns |
| #13 | 57,900 | center choke | force center reopening at risk >= 5 |
| #14 | 63,100 | combo overforce | switch to protocol mode earlier |
This is how you convert random play into measurable improvement.
8) Weekly training plan (30-40 minutes/day)
Day 1-2: stability focus
- ignore max-score attempts
- objective: finish runs with risk score <= 5 for as long as possible
Day 3-4: controlled combo sessions
- push combo chains only when stability criteria are met
- objective: learn when to stop forcing combos
Day 5: recovery drills
- intentionally play into crowded states
- objective: recover using protocol in <= 3 turns
Day 6: full runs
- combine all modules
- audit every run
Day 7: review
- compare top 5 runs
- find repeated collapse trigger
- set one rule for next week
This schedule is short enough to keep, but structured enough to improve results.
9) Myths that hurt performance
Myth 1: "Always clear as much as possible right now"
Not always. Sometimes leaving a controlled setup gives better two-turn value.
Myth 2: "Clean board = good board"
A clean board can still be rigid if center access is bad.
Myth 3: "High score is mostly luck"
Randomness exists, but collapse patterns are often systematic and trainable.
Myth 4: "If combo breaks, run is dead"
Wrong. Breaking combo to restore board health is often optimal.
10) One-page cheat sheet (save this)
- Hardest piece first.
- Score board risk each turn.
- Risk >= 6 means recovery mode.
- Preserve center flexibility over short-term flash points.
- Audit every run in 60 seconds.
If you do only these five, your consistency will improve.
Practice: